DIY CEMENT COASTERS TUTORIAL: WHERE INDUSTRIAL MEETS SASSY!
Materials you'll need:
- Cement
- Modelling felt
- Plastic Petri Dish (6)
- UHU Glue
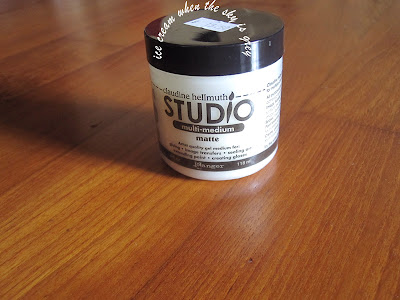
- Claudine Hellmuth Studio Multi-Medium Matte
- Plastic Sheet (to cover your work surface)
- Dishwashing Sponge (1)
- A few disposable bowls and spoons (we recycled our instant noodle bowls!)
Cement
Modelling felt
Plastic Petri dish (6)
UHU Glue
Claudine Hellmuth Studio Multi-Medium Matte
Estimated duration: 30 minutes of DIY-ing, 2 days for cement to dry
Estimated cost: USD25.00
STEP 1: CEMENT MIXER!
Mix the cement with water. Start with a 2:1 cement to water ratio and add a bit of water at a time while constantly stirring.
Make sure that the cement is properly mixed with no lumps.
STEP 2: LIQUID CEMENT
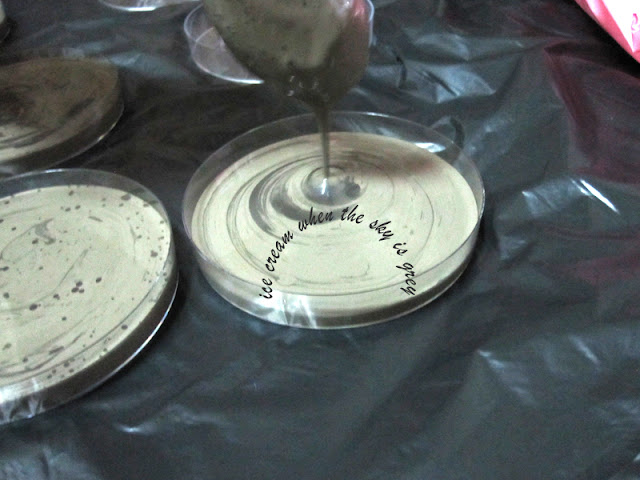
Pour the cement and water mixture into a plastic petri dish. We used about 4 tablespoons of cement mixture for each cement coaster. Your cement coasters should be a minimum of 5mm thick or they might break.
STEP 3: LEVELLING THE CEMENT COASTERS
Lift the petri dish about half a centimetre above the surface and drop it to level out the cement mixture.
Before doing the lifting and dropping (step 3) your cement mixture might look a bit puffy in the middle.
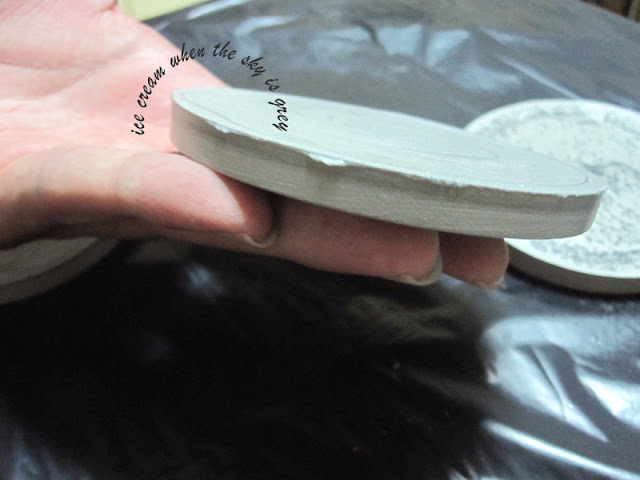
After abusing it a little, it looks nice and level. Now you'll have to give them a total of two days to dry. After 12 hours you should be able to remove the cement coaster from the plastic petri dish by flipping it over. The cement coasters should come out of the petri dishes really easily and cleanly.
"Remember to flip them onto your hand, Nick dropped one and it broke!" ~ Karen
After removing them from the petri dishes, leave them to dry for about a day and a half. Flip them every few hours so they dry better. When they're nice and dry they should become a lot lighter in colour.
STEP 4: SEALER
We used Claudine Hellmuth's Multi-Medium Matte to seal the cement coasters because we didn't like the powdery texture of raw cement. And the sealer will give the cement coasters a finished look.
Remember to transfer the sealer from the jar or you'll end up transferring cement dust into the jar.
We used the smooth side of a sponge to spread the sealer onto the cement coasters, use the long side of the sponge to even out the sealer by smoothing it across the surface of the cement coasters in one movement from right to left to get a nice even finish. You'll only need to seal the top and sides of the coasters, the modelling felt will cover most of the base.
"Use the edge of the sponge rather than the flat top to spread the sealer evenly, we found that to work the best for us!" ~ Karen
After sealing the top surface, spread the sealer around the side of the cement coasters, remember to clean up those blobs of sealer!
After you're done sealing the cement coasters, leave them to dry for about an hour before applying another coat. When applying the second coat on the top, go against the "brush strokes" created by the sealer. For the sides we just went around, same as the first coat.
Going against the brush strokes gives you a lovely woven effect. After two coats of sealer, your cement coasters are almost ready!
STEP 5: PREPARING THE MODELLING FELT
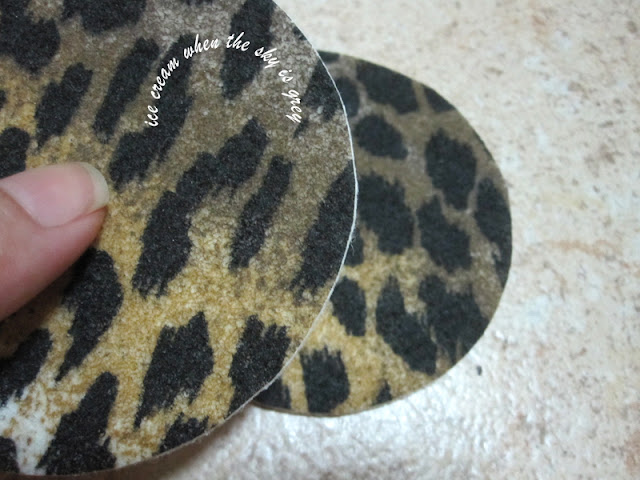
Use a compass to draw circles on the back of your modelling felt and cut them out. We made our circles 4mm (diameter) smaller than the cement coasters.
Cutting out each section before cutting out the circle will make it a lot easier.
After you get your felt circles, check the edges, remember to trim any uneven edges (the white line in the image below)
Now they're nice and neat!
STEP 6: GLUING THE MODELLING FELT
Apply UHU glue in a zig zag pattern on the back of the modelling felt. Also apply near the edge, leave about 2mm from the edge or you might get glue oozing out when you stick it to the cement coaster.
Stick the modelling felt to your awesomely badass cement coasters and you're done!
"We had lots of fun making these cement coasters and sharing them with you guys! Hope you'll have fun making your own cement coasters too!" ~ Nick
More Home Decor DIY here.


great work, love you instructions!
ReplyDelete